So you’ve got your WordPress Multisite up and running and want to start tracking search analytics using Google Search Console. Unfortunately, there are some additional complications to consider when connecting a multisite site to Google Search Console. Because multisite environments share resources and are technically not separate installations of WordPress, the standard methods of connecting a site to Google will not work. Let’s start with the basics and define Google Search Console and WordPress Multisite.
Google Search Console
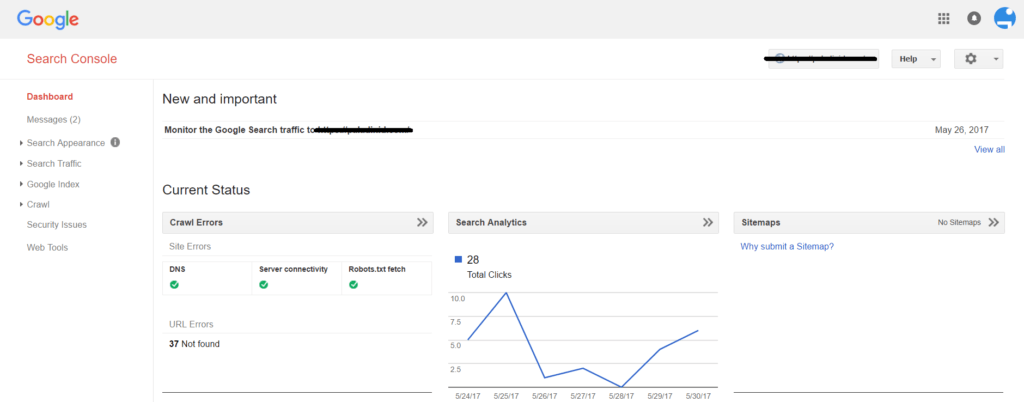
Google provides many awesome tools to website owners and developers alike; one of them is Google Search Console . GSC allows you to view how well your site is performing in Google Searches through a variety of reports such as your Google index status and traffic analytics.
WordPress Multisite
Multisite is essentially using a single install of WordPress to run multiple websites. According to the WordPress Codex:
Connecting Multisite and Google Search Console
Normally it is very easy to connect a WordPress website to Google Search Console; however, because there are a lot of shared resources in a multisite environment, the process has to be modified slightly. Follow the steps below to connect your multisite sites.
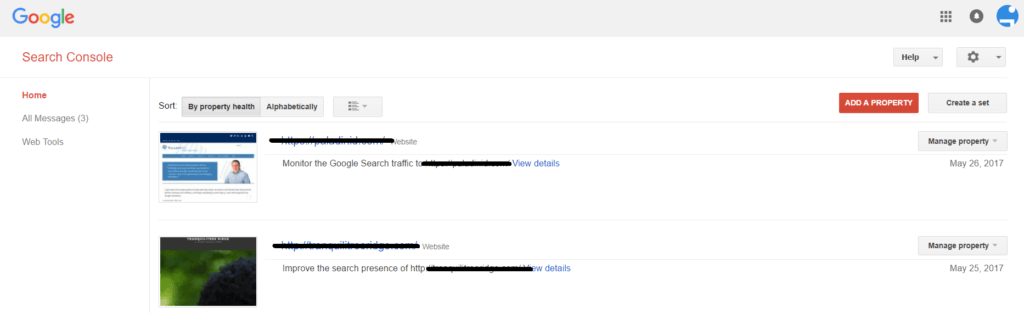
- Navigate to your GSC HOME PAGE, and click the “Add a property” button.
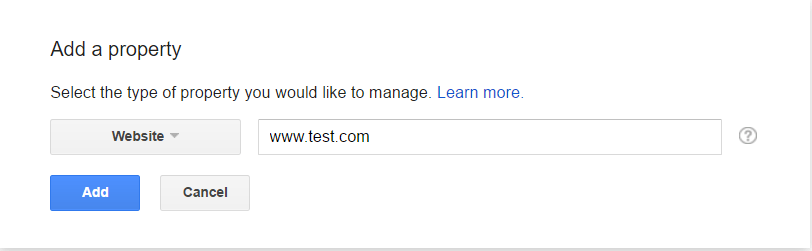
- In the “Add a property” dialogue box that appears, select “Website” and input the address of your website. Click “Add.”
- Next you will have to verify ownership of your site. There are several methods of doing this but the easiest on a WordPress site is to inject the HTML meta tag via plugin. Navigate to the “Alternate methods” tab and select “HTML tag”. Copy this tag into your clipboard and leave the Search Console open.
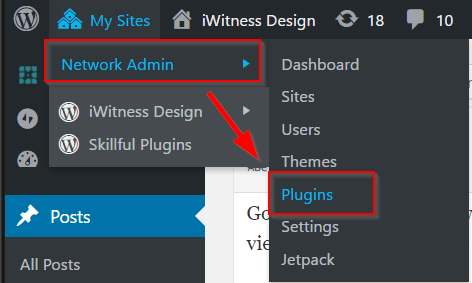
- Navigate to your Multisite plugin panel by selecting “My Sites” >> “Network Admin” >> “Plugins”.
- Download, install and activate the Header, Footer and Post Injections plugin from WordPress.org.
- Activate this plugin across your network by selecting “Network Activate” from the plugins page.
- Navigate to your the dashboard of the site within your multisite that you wish to monitor.
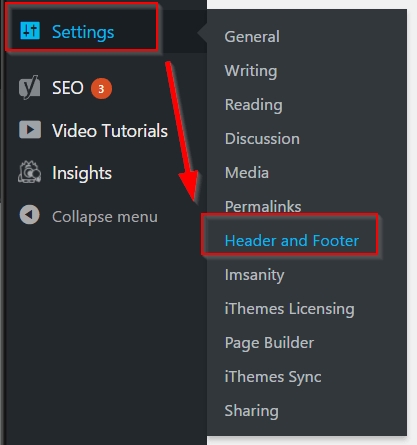
- Navigate to “Settings” >> “Header and Footer”.
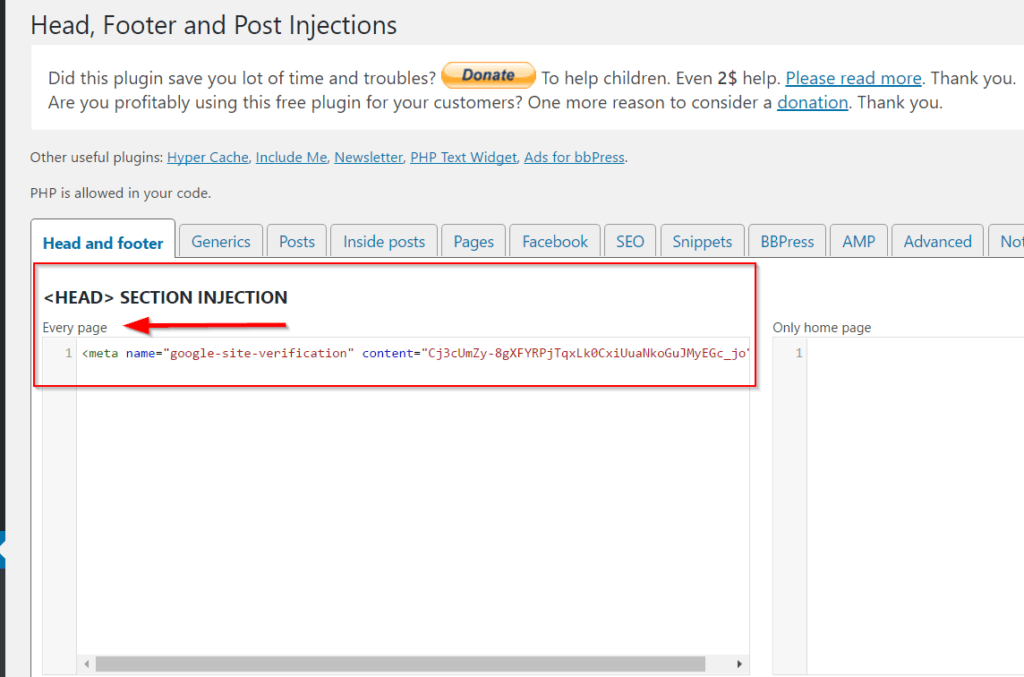
- In the <Head> Section Injection area, paste the HTML meta tag you copied from Google Search Console in the “Every page” box.
- Return to GSC and select the “Verify” button.
There you have it! Your multisite site is connected and you are ready to start optimizing.